These instructions refer to an "iPhone" but they should apply to your iPad and iPod as well. Since Apple changes the email setup when new versions of iOS come out, it's possible these screen shots may not exactly portray your individual setup... our hope is that these will give you enough of a guideline to properly configure your device.
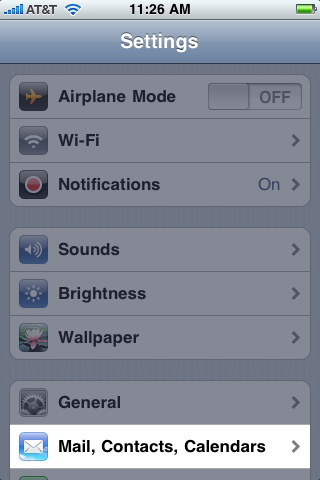
1) Select Settings from your iPhone home menu.

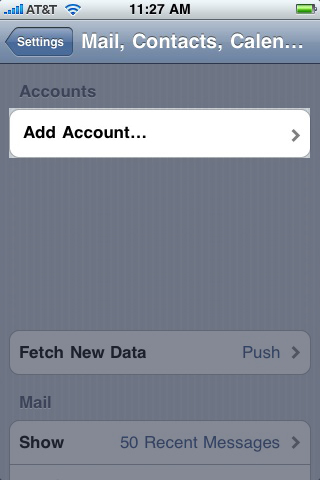
2) Select Mail, Contacts, Calendars
3) Select Add Account...
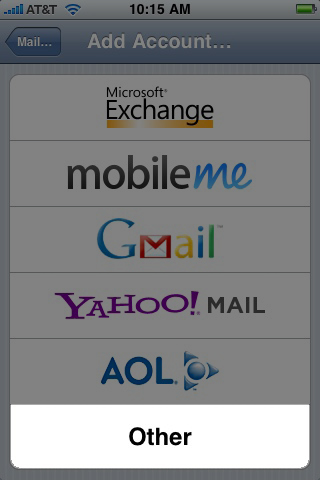
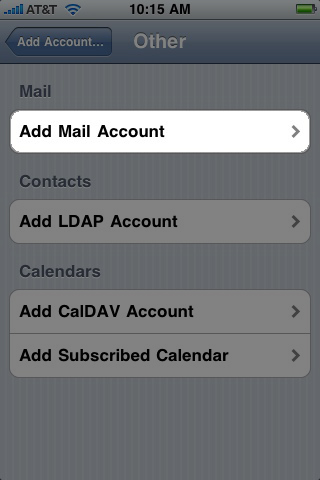
4) Select Other
5) Select Add Mail Account
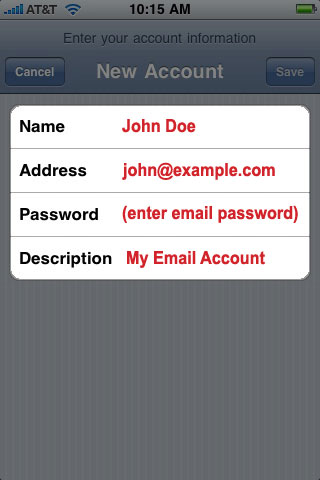
6) Enter your First and Last Name, your Email Address, your Email Password and a brief Description for this email account, then press Save
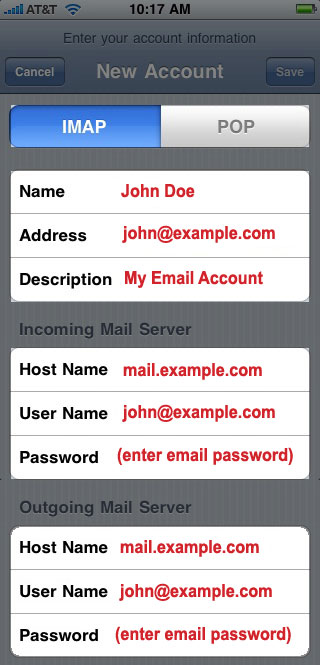
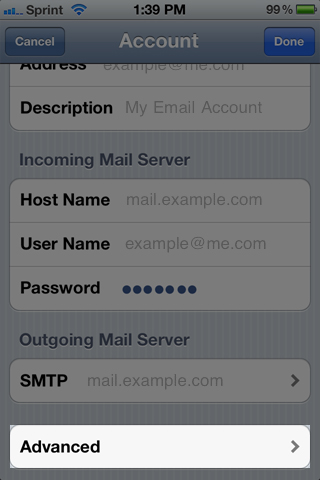
7) Select IMAP and complete each field, using the example below. Replace example.com with YOUR domain name, etc. NOTE: Before hitting SAVE, please see the next step,
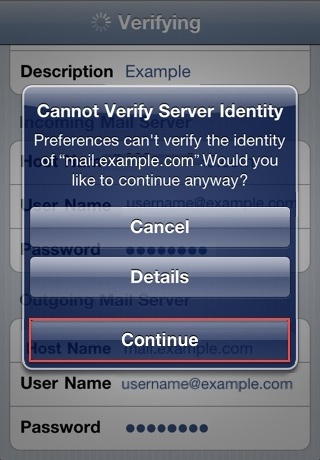
8) When you click Save, you will receive an error "Cannot Verify Server Identity" -- it is OK to click "Continue". The error is caused because the iPhone sees the SSL Certificate for our server using a different domain name as your domain name. This is normal and perfectly fine. All communications between your iPhone and our server will still be fully encrypted and secure.
9) At this point, we have finished the New Account wizard and mail should be working. Exit the wizard, and open your Mail program and allow the Mail program to check your mailbox:
10) For our final step, we need to tell the iPhone to store Drafts, Sent and Deleted items on the server instead of on the iPhone.
Exit Mail, and return to settings by selecting Settings from your iPhone home menu.
11) Select Mail, Contacts, Calendars
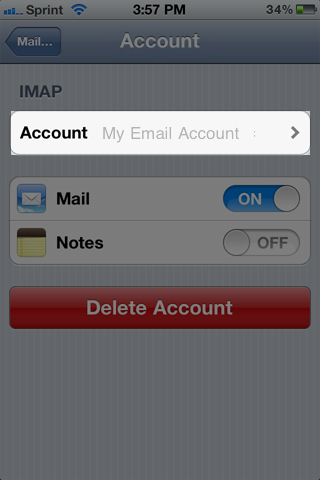
12) Select the Account you just configured:
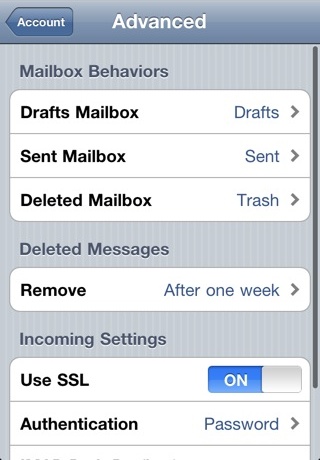
13) Select Advanced
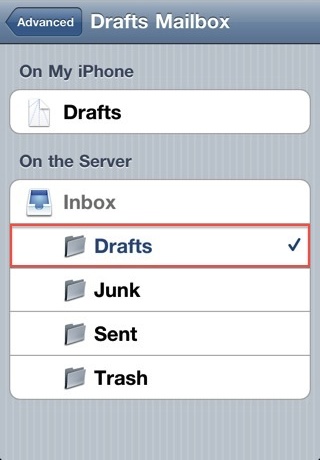
14) Under Mailbox Behaviors choose Drafts:
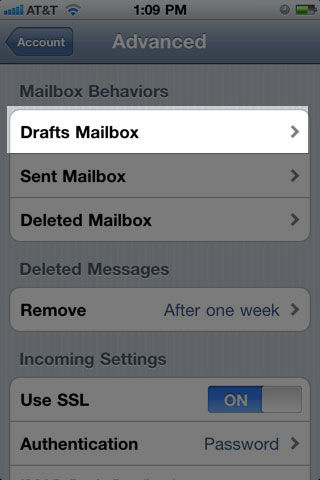
15) Choose On the Server > Inbox - Drafts to save Draft messages on the server:
16) Repeat the above steps for Sent & Deleted items